Create Videos and Audio Commentary in PowerPoint
There are various ways to make a PowerPoint presentation even more dynamic. One of them is to record the slides with audio commentary. The slides can then be presented either as a video or as a standard PowerPoint presentation.
The process is similar for the different PowerPoint versions, so it can be easily adapted. If you do run into problems, you can visit the Microsoft Support page to view instructions for older versions. No matter what version of PowerPoint you’re using, creating a video in PowerPoint is not a problem.
The following explains how to create videos in PowerPoint in more detail.
1. Prepare the recording: screencast and video in PowerPoint
Open the presentation you want to work with. You can either set the whole presentation or only a part of it to music. If only a part of the presentation requires sound, all other slides must be hidden.
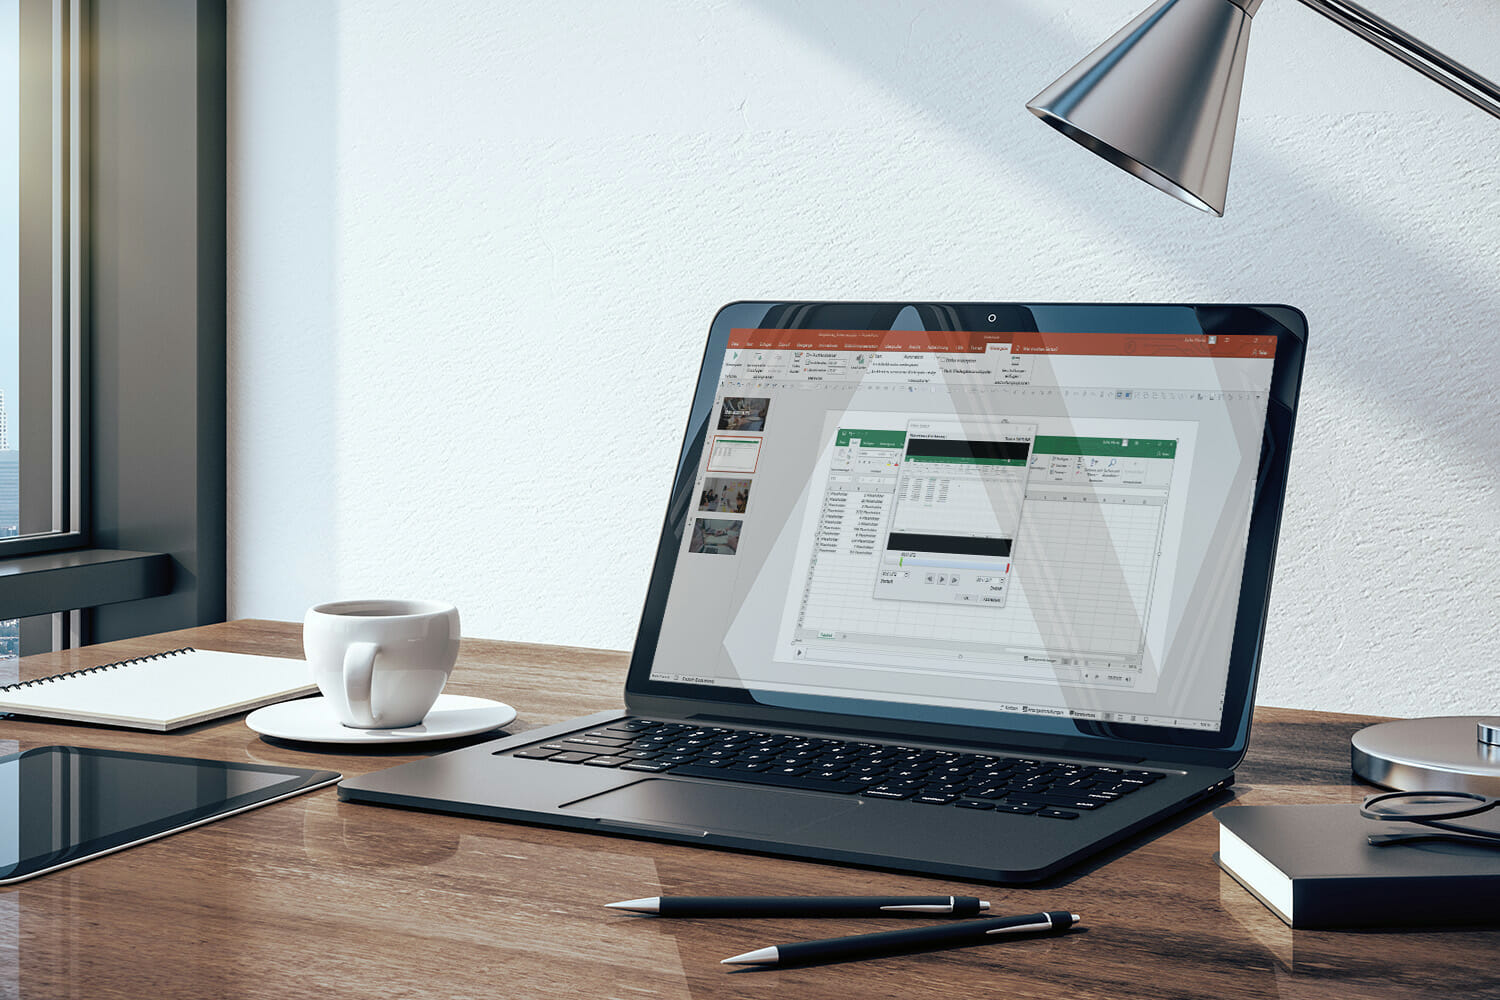
In the top menu ribbon, there should be one of the following options: Record, Slide Show or Record Slide Show. If none of these are available, you will need to customize the ribbon. You can do this under Settings or Options.

Check any hardware you’re using. Make sure that the microphone and camera are working and optimally adjusted. PowerPoint also requires permission to access the hardware. Otherwise, no audio linked to PowerPoint can be created. To do this, access must be granted in the system settings of each device.
You are now on your way to creating a video in PowerPoint.
2. Record with the screencast function in PowerPoint
Screencast your presentation
Now the recording can begin. To do this, select the previously described menu item, Record, Slide Show or Record Slide Show. The window may look slightly different from version to version, but the function is the same.
With some versions, the recording starts directly when you select the menu item. With others, the recording is started with an additional click. After starting the recording, the audio commentary can be recorded.

A PowerPoint presentation consists of several slides. The recording works exactly according to this principle; it is recorded slide by slide. The transition between slides is not recorded, so avoid speaking in these parts as they won’t be heard later. Wait for each transition between slides to finish and then continue with the recording. This may take a little practice, but you’ll soon get the hang of it.
When recording the audio commentary, you can also use the following additional settings. With Stop, the recording can be paused at any time. Press Record to continue. By pressing the ESC key (Stop on Mac), the recording is finally stopped. If you want to change anything, the recording must be completely rerecorded.
During the presentation, you can use the pen, highlighter and laser pointer options to emphasize content. They work just like the real things and are ideal for highlighting individual aspects or adding comments on the topic.
With some versions, you can even save these markings after the recording is finished. They are then automatically displayed the next time you open the slides. This is how a recording can be used together with a prepared set of slides. Another option is recording of a webcam video. Unfortunately, this isn’t a feature in all versions.
3. Editing the screencast in PowerPoint
When the recording is finished, a small speaker icon or video image is displayed on the edited slides. This indicates that a recording has been added to this slide. The recording made for each slide is bound to it. This allows you to edit individual slides. Small mistakes can be easily corrected. If you don’t like the recording for a specific slide, you can delete it and make a new one. To make a new audio commentary for a specific slide, go to the Insert, Audio or Media tab.

4. Make a screen recording
PowerPoint also offers the possibility of recording your screen or part of your screen as video. This function is great if you want to present a particular work process or show how an application works.
The screen recordings can be started via the Record tab. Then select the Screen recording section. A window will now appear, showing everything that is running on your desktop as well as PowerPoint. In this window, you can choose which part of your screen you’d like to record. The screen recording will then only include the actions that were performed in that defined area. So, make sure that the area is large enough.
Using the screen recording menu ribbon, you can now start, pause or stop the recording. There’s also the option to record not only the screen but also the audio during the recording. This means you can comment and explain your actions at the same time.
To make the menu ribbon visible while the screen recording is running, simply move your mouse to the upper edge of the screen.

5. Trimming videos in PowerPoint
If you find your video is running a bit too long, you can trim it. To do this, simply right-click in the video frame and select Trim.
When watching the video, simply press Pause at the point you want to trim.
To trim the beginning of the clip, click the start point. This will display a two-headed arrow. When you see the two-headed arrow, drag it to a new starting position for the video. The video will then start at the selected point.

To trim the end of the clip, click the end point. When you see the two-headed arrow, drag it to a new end position for the video. Confirm by clicking OK.
It’s possible to trim videos simply by clicking on them. If you do this, make sure that the video is trimmed at the right place and your audio commentary isn’t interrupted at an inappropriate point (for example, in the middle of a sentence).
6. Export your PowerPoint presentation as a video
After the recording is complete, you can export it as a video. To do this, select either the Recording or File tab. Under Recording, you can then select Export as Video. Under File, you need to select Export. Both functions have the same functionality, only the name varies from version to version.

After selecting the appropriate tab, the recording of your presentation must be saved as a video format. Select the correct format under File format. This could be MP4 or MOV, for example. Before the export is carried out, further configurations can also be made, such as video quality.
7. Publish the video
After recording and exporting the video, all you have to do is share it with others.
The video can be uploaded to YouTube, Vimeo or even Microsoft Stream. To upload it to Microsoft Stream, select Publish to Microsoft Stream in the Recording section of the open presentation. You can then select a title for the video, a description and define other options. Once this is done, click Publish.
A status bar will appear at the bottom of the PowerPoint window which will show the progress of the upload. A message will tell you the upload is complete. This message can also be used to switch directly to the video playback in Microsoft Stream. This allows you to check directly whether the upload was successful.
Summary: Creating videos in PowerPoint is easy
Creating videos and audio comments in PowerPoint is easy and straightforward. These simple functions can dramatically enhance the presentation. Audio commentary can bring it to life without the need for a presenter.
There are some minor differences between PowerPoint versions. The tabs and menu items often have different names. But don’t let this confuse you; it’s possible to record a video or audio commentary in all current PowerPoint versions.
Some more tips on how to record videos correctly
To make changes to a recording, only the corresponding slide needs to be edited. The order of the slides can also be changed without the need for a new recording.
To make transitions between slides seamless, don’t speak right at the beginning of each slide and stop briefly at the end of each slide. This also prevents comments from being cut off between the slides (where no recording is taking place).
- Recording commentary can only be done in desktop versions of PowerPoint, not in PowerPoint for the web.
- The video size can be adjusted and edited. This is done in the edit view.
- Recording is easiest on PCs with a touch screen, which have their own webcam.
- Before starting the recording, check that the PowerPoint version has been configured correctly.
- It’s also possible to record several takes per slide. This is useful for slides containing other emphasized elements.
- For the transition between slides, simply record a few seconds with complete silence. This ensures you won’t lose any commentary.
Use an external microphone and webcam for the best quality. Built-in hardware is perfectly fine but for a really professional video, external components are much better.
After you’ve recorded the first slide, play it back as a test. This allows you to make any necessary adjustments to audio and video settings before completing the recording.
Share this post


-

Design Thinking: Problem Solving with a Difference
-
Why Corporate Mission Statements Are So Important
-
7 Tips & Learnings from the Apple Keynote


-
Design Thinking: Problem Solving with a Difference
-
Why Corporate Mission Statements Are So Important
-
7 Tips & Learnings from the Apple Keynote